Key Takeaways:
- Choose healthy parent plants: Select disease-free, vigorous stems to maximize the success of your cuttings.
- Take cuttings at the right time: Late spring to early summer is ideal, using softwood or semi-hardwood stems depending on the season.
- Prepare and plant cuttings carefully: Trim lower leaves, dip in rooting hormone, and insert into well-draining, moist soil.
- Maintain proper care for rooting: Keep cuttings in bright, indirect light, maintain consistent moisture, and provide humidity with a plastic bag or propagation dome.
- Know when roots are established: Look for resistance during a gentle tug, new growth, and healthy, firm leaves before transplanting.
- Transplant thoughtfully: Use nutrient-rich soil, plant at the same depth, water thoroughly, and mulch to reduce stress and encourage growth.
- Be patient and troubleshoot: Roots may take 4–8 weeks; monitor for mold, wilting, or leaf drop and adjust conditions as needed.
Growing roses from cuttings is one of the most rewarding ways to expand your garden without spending a fortune on new plants. Not only does it allow you to multiply your favorite varieties, but it also gives you the satisfaction of nurturing a rose from the very beginning. If you’ve never tried propagating roses before, don’t worry—this guide will walk you through each step with clear instructions for beginners.
Why Grow Roses from Cuttings?
Learning how to grow roses can be incredibly rewarding, and starting roses from cuttings offers several advantages:
- Cost-effective: You can create multiple plants from one healthy parent rose without buying new ones.
- Preserve favorite varieties: Keep your favorite rose variety alive and thriving.
- Fun and educational: Learn about plant propagation while building your gardening skills.
- Faster adaptation: Cuttings from established plants tend to adapt quickly to your garden’s conditions.
Understanding the benefits will motivate you to try propagation, even if it’s your first time growing roses from cuttings.
What Kind of Roses Can You Grow from Cuttings?
Not all roses are equally easy to propagate. Some varieties root more readily than others:
- Hybrid teas: Ideal for beginners; their cuttings root reliably.
- Floribundas: Produce colorful blooms and respond well to propagation.
- Climbing roses: Can be propagated but may require more care.
- Shrub roses: Hardy and resilient, often the easiest to root.
Always select healthy, disease-free parent plants for the best results. Avoid roses with black spot, powdery mildew, or other issues.
When Is the Best Time to Take Rose Cuttings?
Timing is key to successful rose propagation. The best times depend on your climate:
- Late spring to early summer: Most cuttings root best during active growth.
- Avoid extreme temperatures: Too hot or too cold conditions reduce rooting success.
- Softwood vs. hardwood cuttings:
- Softwood cuttings come from new, green growth and root quickly.
- Hardwood cuttings come from mature stems, ideal for dormant seasons.
Checking your roses for the right type of stem is an essential first step in growing roses from cuttings successfully.
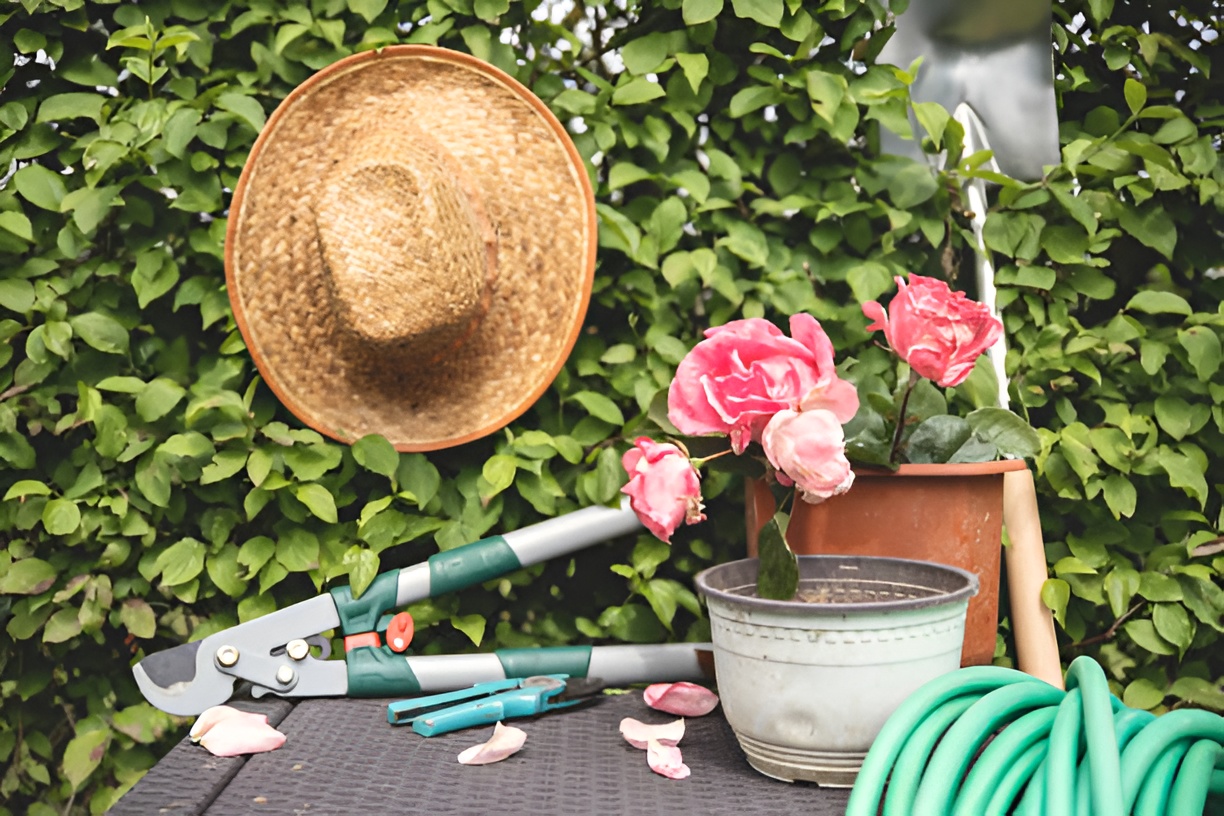
How to Prepare Your Tools and Materials
Before taking your cuttings, gather everything you’ll need:
- Sharp pruning shears or a knife
- Rooting hormone (powder or gel)
- Small pots or seed trays
- Well-draining potting mix
- Plastic bags or a propagation dome
- Labels for each cutting
Keeping your tools clean is crucial to avoid spreading disease. Sterilize pruning shears with rubbing alcohol or a diluted bleach solution before cutting.
How to Take Rose Cuttings Step by Step
Taking rose cuttings is a delicate process, but following these steps carefully can significantly increase your chances of success. Each step is designed to give your cutting the best environment to develop strong roots.
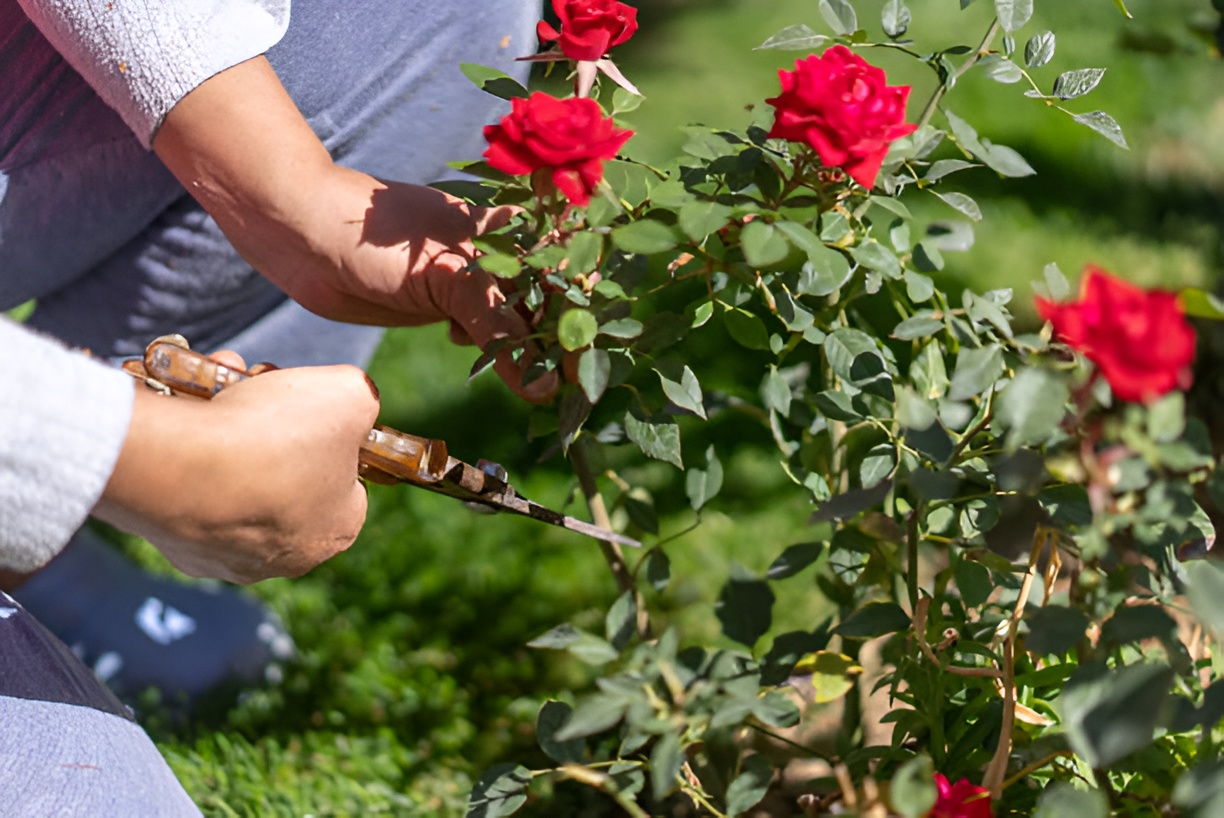
1. Select a Healthy Stem
Choose a stem from a healthy, disease-free rose bush. Look for new, vigorous growth that is firm but not woody. The stem should be about 6–8 inches long and have at least 3–4 leaf nodes, as these nodes are where roots are most likely to form. Avoid stems that are flowering, damaged, or have black spots. Selecting a healthy cutting is the foundation of success.
2. Make a Clean Cut
Using sharp, sterilized pruning shears or a knife, cut just below a leaf node at a 45-degree angle. This angled cut increases the surface area for root development and helps the cutting absorb water more efficiently. Make sure the cut is clean—jagged cuts can stress the plant and reduce rooting success.
3. Remove Lower Leaves
Strip off the leaves from the lower half of the cutting, leaving 1–2 leaves at the top. This step reduces water loss through transpiration while the cutting is developing roots. You can also remove any small side shoots or buds on the lower part of the stem, as they can divert energy away from root growth.
4. Optional – Trim Thorns
If your rose stem has thorns along the lower portion, carefully remove them with pruning shears. This makes handling and planting easier, prevents damage to your hands, and reduces the chance of injury to the delicate cutting when planting in soil.
5. Dip in Rooting Hormone
Dip the bottom inch or so of the cutting into rooting hormone powder or gel. This hormone encourages faster root formation and increases your chances of success, especially with more challenging rose varieties. Tap off any excess powder to avoid clumps that can promote mold growth.
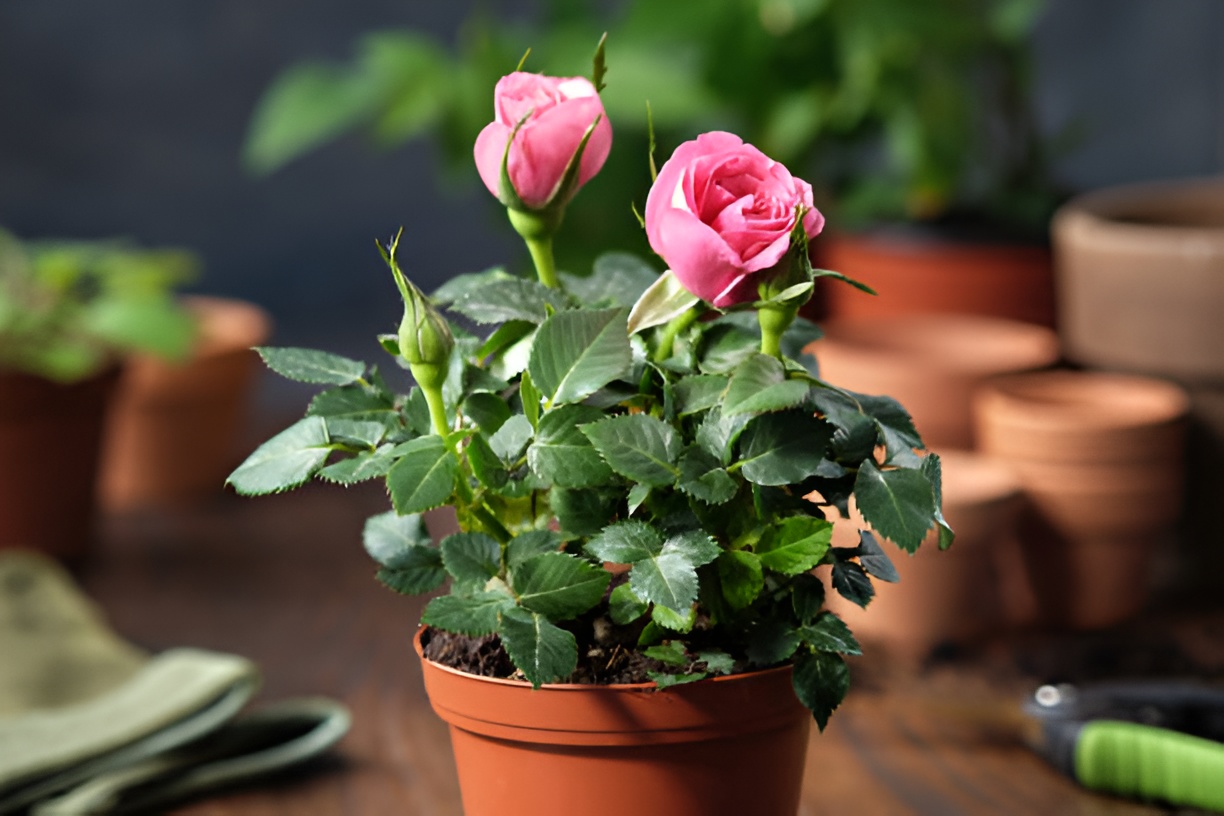
6. Plant in Potting Mix
Prepare a small pot or seed tray with moist, well-draining potting mix. Make a hole using a pencil or stick, and insert the cutting about halfway into the soil. Firm the soil gently around the stem to remove air pockets, ensuring good contact between the cutting and the soil. Avoid pressing too hard, as this can damage the delicate stem.
7. Water Gently
Water the cutting lightly immediately after planting. The goal is to keep the soil moist but not soggy, as excessive moisture can cause the cutting to rot. Mist the soil surface and the cutting with a spray bottle if necessary to maintain consistent moisture.
8. Create a Mini Greenhouse
Cover the cutting with a plastic bag or propagation dome to retain humidity and warmth. Make sure the cover does not touch the leaves to prevent mold growth. Poke small holes in the bag or remove it briefly each day to allow for air circulation, which helps prevent fungal problems.
How to Care for Rose Cuttings After Planting
Once your cuttings are planted, proper care is essential:
- Light: Place in bright, indirect sunlight. Avoid direct sun that can scorch young stems.
- Watering: Keep the soil evenly moist. Overwatering can cause rotting.
- Temperature: Ideal rooting temperature is 65–75°F (18–24°C).
- Air circulation: Occasionally open the cover to prevent mold buildup.
Patience is key—rose cuttings can take several weeks to develop roots, usually between 4 and 8 weeks.
How to Tell When Rose Cuttings Have Rooted
Knowing when your roses have established roots is crucial before transplanting:
- Gentle tug test: Lightly pull the cutting; resistance indicates root formation.
- New growth: Emerging leaves or buds signal that roots are taking hold.
- Healthy appearance: Leaves remain green, firm, and turgid.
Avoid disturbing cuttings too early, as this can damage delicate new roots.
How to Transplant Rooted Rose Cuttings
After your rose cuttings have developed a strong root system, transplanting them properly is crucial to ensure healthy growth. Follow these detailed steps to give your new roses the best start in their new home.
1. Choose the Right Pot or Garden Spot
Select a location with good drainage and at least 6 hours of sunlight daily. Poor drainage can lead to root rot, while insufficient sunlight slows growth. If planting in a pot, make sure it has drainage holes and is large enough to accommodate future growth.
2. Prepare the Soil
Whether planting in a garden bed or a pot, prepare the soil to provide nutrient-rich and loose conditions for the roots. Mix in compost, well-rotted manure, or other organic matter to improve soil fertility and texture. Avoid compacted soil, which can hinder root expansion.
3. Gently Remove the Cutting
Carefully remove the rooted cutting from its pot or tray. Loosen the soil around the roots with your fingers or a small tool, taking care not to break or damage the delicate roots. If the roots are tightly bound, gently tease them apart to encourage outward growth after planting.
4. Plant at the Same Depth
Place the cutting in the prepared soil so that the base of the stem sits at the same depth as it was in its pot. Planting too deep can cause stem rot, while planting too shallow may expose roots and dry them out. Firm the soil gently around the cutting to eliminate air pockets while being careful not to compress it too much.
5. Water Thoroughly
After planting, water the cutting generously to settle the soil around the roots. Consistent moisture helps reduce transplant shock and encourages the roots to start spreading into the new soil. Avoid overwatering—soil should be moist but not soggy.
6. Mulch Around the Base
Add a 2–3 inch layer of mulch around the base of the rose cutting. Mulch helps retain soil moisture, keeps roots cool, and reduces weed competition. Keep mulch slightly away from the stem to prevent rot and pest problems.
Handling Common Problems
Even beginner gardeners can face challenges. Here’s how to handle them:
- Cuttings turning brown or wilting: Likely overwatering or lack of humidity. Adjust watering and cover.
- Mold or fungus: Remove affected cuttings and improve air circulation.
- No root growth after several weeks: Ensure the cutting was healthy, used rooting hormone, and the environment is warm enough.
- Leaf drop: Normal in some cases; focus on root development instead of leaves.
Learning from these small setbacks will improve your future success.
Tips for Increasing Your Success Rate
- Take multiple cuttings; not all will root.
- Use a rooting hormone consistently.
- Maintain consistent moisture and warmth.
- Avoid handling cuttings excessively.
- Label each variety to track growth and characteristics.
These small techniques can make a significant difference, especially for beginners.
Can You Grow Roses from Cuttings Indoors?
Yes, growing roses indoors is possible and often easier for beginners:
- Benefits: Controlled temperature, reduced pests, and year-round propagation.
- Requirements: Bright light, humidity cover, and regular watering.
- Limitations: Space may be limited, and indoor air circulation is critical.
Indoor propagation is a great way to practice rose cutting techniques before moving outdoors.
How Long Will It Take for Roses from Cuttings to Bloom?
The time from cutting to first bloom varies:
- Root formation: 4–8 weeks
- Transplant growth: 2–3 months
- First flowering: Typically within the first year
Patience is essential, but the reward of seeing your propagated roses bloom is well worth the wait.
Can You Propagate Roses from Any Part of the Plant?
Not all parts of a rose bush are suitable for cuttings:
- Best stems: Semi-hardwood or softwood growth from the current season.
- Avoid: Flowering stems, old woody stems, or diseased sections.
- Leaf cuttings: Rarely successful compared to stem cuttings.
Selecting the right portion ensures your propagation efforts are not wasted.
Final Thoughts
Learning how to grow roses from cuttings can be a fun, rewarding, and cost-effective way to expand your garden. By following the step-by-step instructions in this guide, beginners can confidently propagate their favorite roses, enjoy the process of nurturing new plants, and eventually see the stunning blooms of their efforts. Remember, success comes with patience, proper care, and a bit of practice—but once you master it, your garden will be richer, more colorful, and completely self-propagated.